
It can feel pretty intimidating trying new things, especially when it comes to short hair. Now, if you’re someone NEW to the short hair gang, it can honestly be even more intimidating. You might be used to having a head full of hair and being able to do so many styles; so many buns, so many ponytails, and so, so many protective styles. With short hair, braids become a distant, longing love, rather than an appointment you can set in seconds. Weaves? Don’t even think about it, sweetie. But the biggest want are headwraps. Those beautiful, big, bountiful headwraps. Where do you begin?! How do you get them to stay on when your hair is short? Can you even achieve those big wrap looks?
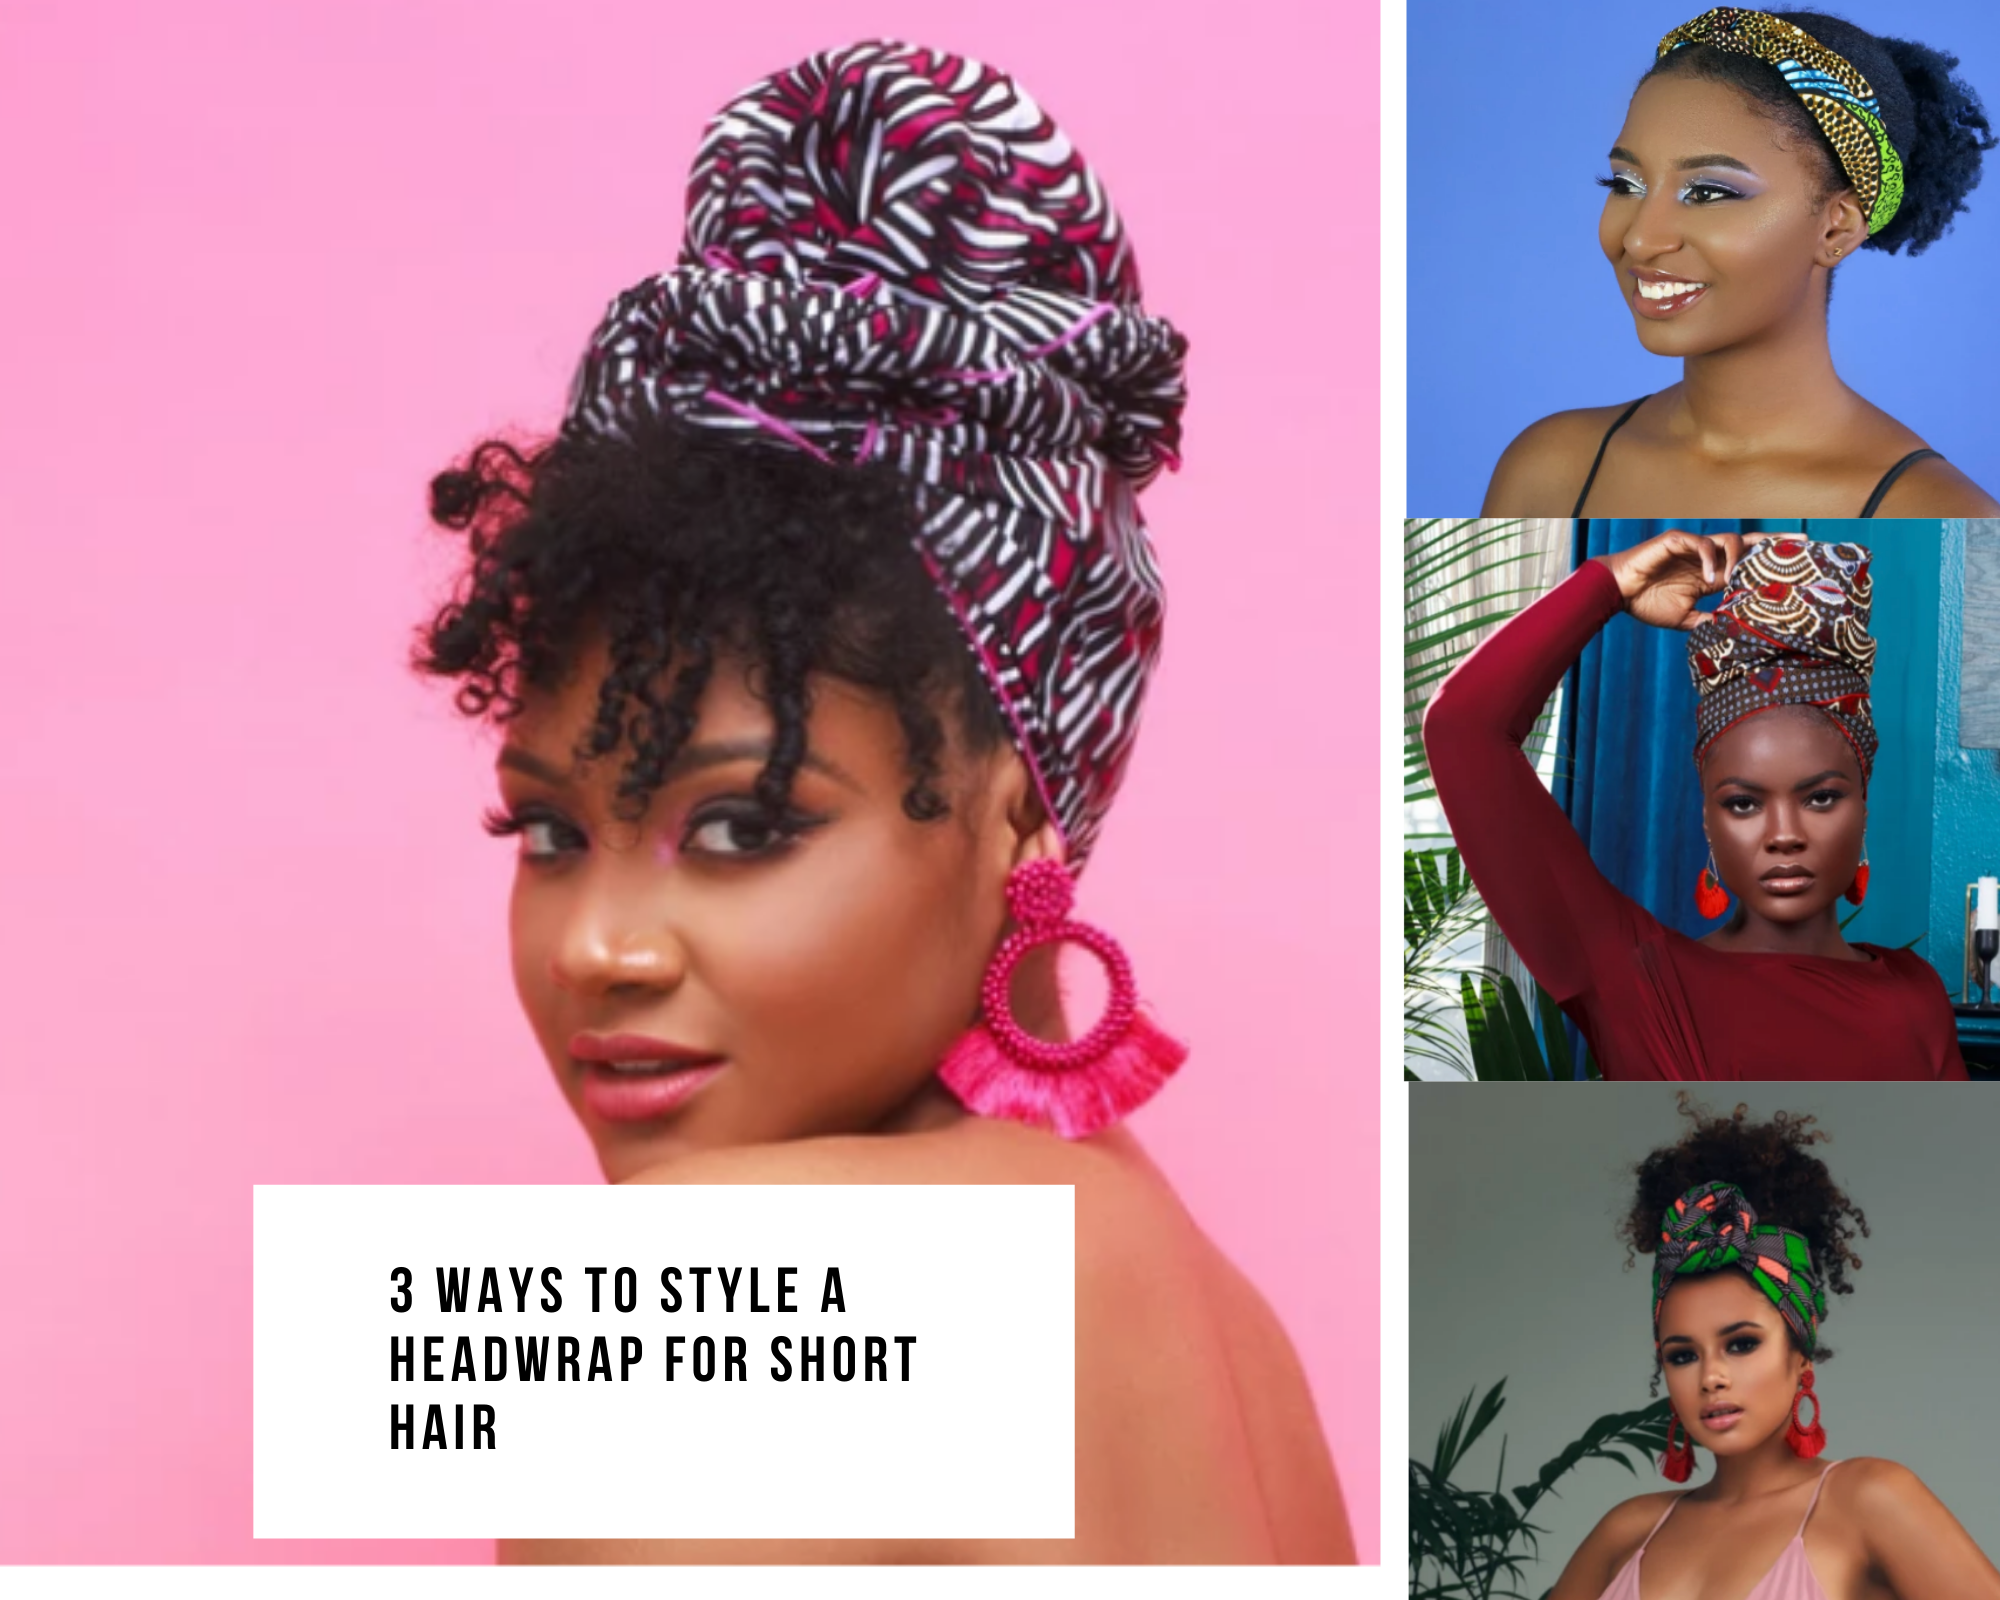
It can feel so daunting, but that’s all it is — a feeling. Headwraps aren’t as intimidating as they look. You, yes, you can have those big, beautiful headwrap looks too. Yes, even with your short hair! Today, Cee Cee’s is going to let you in on a little secret: 3 easy styles for short hair!
Let’s start with the Three Knots to Heaven style.
The first step to perfecting your headwrap is making sure the headwrap starts at the nape of your neck. This step is extremely important because it insures the security of your headwrap so it can stay on all day! While the silk lined headwraps are pretty similar to tying regular wraps, silk lined wraps can tend to be slippery on the head due to the material. Nonetheless, keeping the wrap tight isn’t as hard as it seems..
This is where we introduce our handy dandy friend — Bobby! Grab a bobby pin or three and place them around the nape of the neck and around the ears. With the help of tying your headwrap a bit tighter than usual and the bobby pins to keep the wrap in place, this is gonna keep the base steady! Now, you’re ready to do your headwrap style to your leisure!
Next, you want to bring the fabric forward, making sure both ends are even. From there, you’re going to tie the ends and pull them horizontally, not vertically or any other way. This step is also very, very vital because what this does is set up the base for the wrap style. You’ll know you did this step right if there is an opening of the headwrap at the crown. Don’t do anything with it! It’s supposed to be like that. We’ll get back to that part later. Once you have your first knot down, you’re going to repeat the same steps, making sure to pull the ends horizontally when you tie. Repeat this step until you have three knots, or four, if you have more fabric left. Remember that opening at the crown? Now what you’re going to do with the extra fabric from the knots is push it into the opening. Now, you’re going to push the opening closed by pushing it into one of the knots you created, and wallah! Three Knots to Heaven, and you look heavenly!
Pretty simple, huh? Now this next style is going to be for our Shortie headwraps. A Shortie is the same material and patterns as our regular headwraps, just a lot less fabric. This headwrap is perfect for those who don’t want too much fabric to work with and something a bit more lightweight.
This headwrap style is a simple twisted knot. With this wrap you want to start by folding the fabric in half the long way. So, when you’re done, it should be skinnier in height and not shorter in width.
You’re going to begin the base by once again starting at the nape of the neck and tying horizontally, making sure to tie tightly. Next, you want to take the two ends and start twisting them together. This part is fun because you can choose where you want your knot to be! You can have it to the side or the center! It’s completely up to you! To begin the knot you want to start twisting the twist you just made into itself. Continue to wrap it around until there isn’t any fabric left. To secure, simply tuck the ends underneath. And look at that! You’ve learned your second headwrap style.
Now that you’ve learned how to do this with a shortie, here’s how to achieve this look with a headwrap.
While it is pretty similar, there are still quite a few differences. To start, our regular headwraps don’t need to be folded before placing it onto the nape of your neck. You can get to that step immediately! Make sure to tie your base knot tightly, and remember to tie those ends horizontally, not vertically! Now you want to tie another knot. This step differs from the Shortie because our regular headwraps are more fabric, which means we have a lot more to play around with! The next step you’re going to want to do is the twisting process. Take the two ends and begin to wrap them together. Once completed, you can start your knot! Wrap the twist you made into itself until you have your round knot! shape. Tuck the ends into the bottom, and your all done! While this is still the simple knot method, this version of it is a lot fuller!
And would you look at that! You’ve learned three different styles with three different wraps!
See, Cuties? Not so scary after all! The best part is that these styles can be as voluminous or as simple as you like! To add more dimension, simply tie your knots a bit looser. It will make the fabric look more full while still being secure. And, remember our friend Bobby! Even if you decide to use our Shortie or our regular cotton headwraps, you can still use a bobby pin for extra security.
We would LOVE to see your looks at Cee Cee’s HQ. Tag us in your looks on Instagram @CeeCeesClosetNYC and let us know how your first headwrap conquerment went! Even better, you can make a video of yourself tying your very own headwrap for the first time and post it in our Facebook Group! Either way, we’re looking forward to all the slayage!

